Textinput Widget in Python Kivy
Last Update : 24 Dec, 2022This tutorial discusses the usage of the Textinput widget in your Python Kivy GUI application.
Kivy is a free and open-source GUI application development framework for Python that can use as a multi-platform application development framework. Kivy allows you to develop multi-platform applications on various platforms such as Windows, Linux, Android, macOS, iOS, and Raspberry Pi.
What is the TextInput Widget in Kivy?
The TextInput widget provides a box for editable plain text. It is supported the features of Unicode, multiline, cursor navigation, selection, and clipboard. The TextInput widget uses two different coordinate systems.
- (x, y) coordinates in pixels - This is mostly used for rendering on screen.
- (col, row) cursor index in characters/lines - This is used for selection and cursor movement.
You need to import "from kivy.uix.textinput import TextInput" to work with Textinput
By default, the TextInput widget enables multiline. But, if you need to single-line TextInput, set the multiline property of the TextInput to False.
TextInput(text='Hello UXpython', multiline=False)
Basic Approach of Adding a TextInput Widget
- Import necessary Kivy modules.
- Import Kivy module.
- Import Kivy App module to create a Kivy interface.
- Import Textinput module.
- Import Label module.
- Create the base class by extending the App class.
- Overwrite the build function.
- Return Layout, widget, or Class according to requirement.
- Run the instance of the base class.
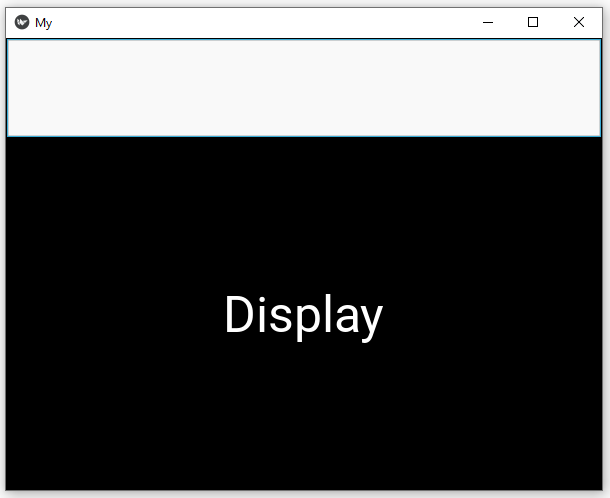
The following example shows a simple Kivy application that is used to display a text input and a simple text by using Kivy Textinput & Label. Also, Kivy BoxLayout has been used for the vertical arranging of children widgets of this application.
# Import Kivy module
import kivy

# Import Kivy App module to create a Kivy interface.
# The base class of your Application inherits from the App class.
from kivy.app import App

# Import Kivy TextInput module.
# The TextInput module used for providing a box for editable plain text
# This is require to use TextInput widget in your app.
from kivy.uix.textinput import TextInput

# Import Kivy Label module.
# The Label module used for rendering text.
# This is require to use Label widget in your app.
from kivy.uix.label import Label

# Import Kivy BoxLayout module.
# BoxLayout used to arranges children widget in a vertical or horizontal box.
from kivy.uix.boxlayout import BoxLayout

# Create the base class by extending App class.
# The base class of this app is "MyApp"
class MyApp(App):

    # Overwrite the build function of App class.
    def build(self):

        box = BoxLayout(orientation ='vertical')

        # Adding the text input box
        txt = TextInput(font_size = 50,
                      size_hint_y = None,
                      height = 100)

        lbl = Label(text ="Display",
                  font_size = 50,
                  height = 100)

        box.add_widget(txt)
        box.add_widget(lbl)

        return box


if __name__ == '__main__':

    # Run the instance of the base class.
    # run() method is used to run the App.
    MyApp().run()
This program produces the following result -: