Label Widget in Python Kivy
Last Update : 26 Sep, 2022Label widget is one of the Python Kivy classical user interface widgets. This tutorial discusses the usage of the Label widget in your Python Kivy GUI application.
Kivy is a free and open-source GUI application development framework for Python that can use as a multi-platform application development framework. Kivy allows you to develop multi-platform applications on various platforms such as Windows, Linux, Android, macOS, iOS, and Raspberry Pi.
What is the Label Widget in Kivy?
Label widget is used for rendering text. Also, ASCII and Unicode strings support the Label. You can apply the styling on the Label such as increasing text, size, color, and more.
Basic Approach of Adding a Label Widget
- import necessary Kivy modules.
- import Kivy module.
- import Kivy App module to create a Kivy interface.
- import Label module.
- Create the base class by extending App class.
- Overwrite the build function.
- Create a Label and return it.
- Run the instance of the base class.
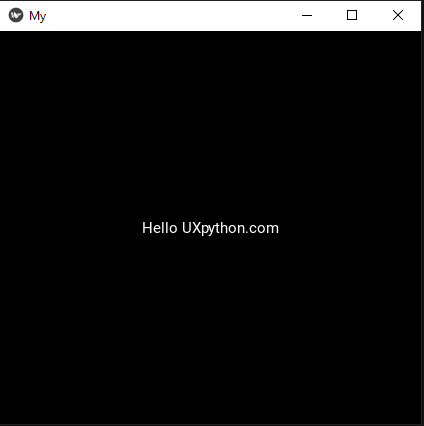
The following example shows a simple Kivy application that is used to display a simple text by using Kivy Label.
# Import Kivy module
import kivy

# Import Kivy App module to create a Kivy interface.
# The base class of your Application inherits from the App class.
from kivy.app import App

# Import Kivy Label module.
# The Label module used for rendering text.
# This is require to use Label widget in your app.
from kivy.uix.label import Label

# Create the base class by extending App class.
# The base class of this app is "MyApp"
class MyApp(App):

    # Overwrite the build function of App class.
    def build(self):

        # Create a Label and return it.
        # Return a Label with text 'Hello UXpython.com' as a root widget
        return Label(text='Hello UXpython.com')


if __name__ == '__main__':

    # Run the instance of the base class.
    # run() method is used to run the App.
    MyApp().run()
This program produces the following result -:
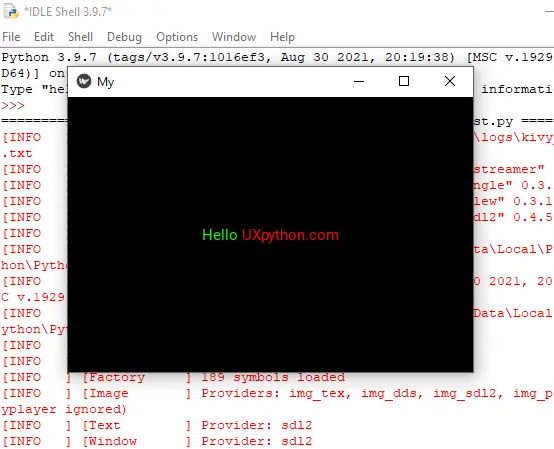
Markup the text in Kivy Label
The style of the text can be changed using Text Markup. The syntax is similar to the BBCode syntax. Also, it is only the inline styling is allowed.
# Change only line 22 in the above program without changing other codes.

# Markup label text with different colors.
# Hello in green, UXpython.com in red.
lbl_01 = Label(text='[color=00FF00]Hello[/color][color=FF0000]UXpython.com[/color]',
        markup = True)
This program produces the following result -:
Available Markup Tags
- [b][/b] -: Activate bold text
- [i][/i] -: Activate italic text
- [u][/u] -: Underlined text
- [s][/s] -: Strikethrough text
- [size=<integer>][/size] -: Change the font size
- [color=#<color>][/color] -: Change the text color
You can refer the https://kivy.org/doc/stable/api-kivy.uix.label.html to get all the available markup tags.
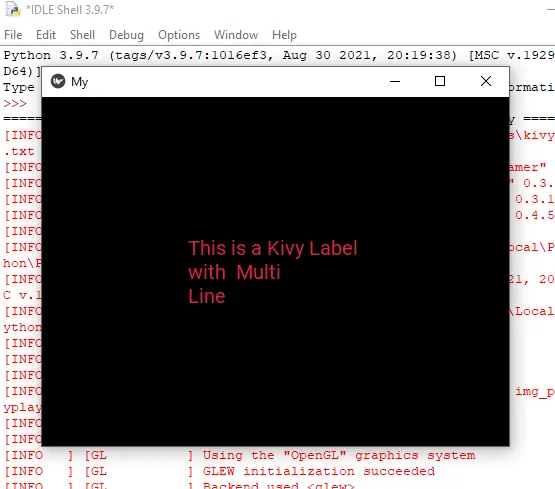
Styling the text in Kivy label
# Change only line 22 in the above first program without changing other codes.

# Text color & font size change
l2 = Label(text ="This is a Kivy Label \nwith  Multi\nLine",
            font_size ='20sp',
            color =[0.88, 0.12, 0.24, 1])
This program produces the following result -: